
Or are we? We’re not. Don’t worry so much. You need to relax.
Where was I? Oh yeah, 4/20. If you’re anything like me, you spent a decent chunk of change stocking up for the holiday, and now your bank account isn’t looking too hot. Whether you’re a fancy urbanite with a weed delivery service, or you’re buying from a “friend”, these (extremely necessary) expenses can start to add up. Time is money and all that. With this in mind, we’ve decided to compile a step-by-step guide for any would-be botanists out there looking to grow their own weed, and by extension, cut out the middleman. (And, if you want learn more about how to relax and don’t actually want to grow your own, there are plenty of resources for that.)
Step 1: Grow Tent
First thing you’re going to need is a designated area in which to grow. This is where a grow tent comes into play. A grow tent is essentially a box made of canvas with reflective material on its interior designed to catch light. You can make your own, but if you’re smart, you can buy one for around $40-$50. You’ll also need outfit it with a light source, ideally either HID or LED, and depending on the size of your operation, this can cost you from $40-$250. Since this is your first time, and you’re probably going to start with only one or two plants, the recommended wattage for your light source is around 250. This’ll keep the grow tent from getting too hot and will also keep your budget manageable. On top of this, you’ll need an exhaust fan, as well as an a carbon filter in order to eliminate heat and odor. If you buy a kit, this’ll run you from $70-$100. Finally, you need a thermometer/hygrometer in order to keep track of heat and humidity. Altogether, you can probably build a decent grow tent for around $200. There are some good building guides online if you’re not particularly handy.
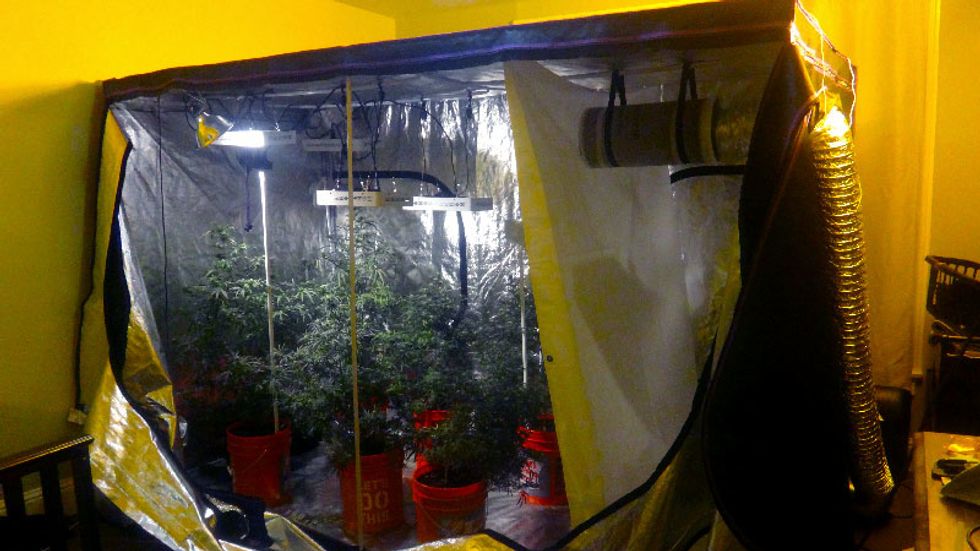 A grow tent
Step 2: Planting/Watering/Growing
Next, you’ll need a 3-5 gallon bucket (per plant) filled with an airy soil mix. Be sure to cut holes in the bottom of the bucket to account for overflow. You’ll also need to purchase nutrients in order to feed your plant. When shopping, it’s also important to make sure you buy feminized seeds. Unless you’re conducting a major growing operation, there’s no reason for you to grow male plants, as their primary use is for breeding. All of the buds that end up in your pipe or bong come from female plants.
After you plant your seeds, you’ll want to bring your lights closer to the bucket rather than forcing your plants to stretch towards their light source. As your green friends grow, gradually move the lights higher up. As for the amount of light your plants should be getting, you should set your lights to be on for 18 hours a day and off for 6. Don’t overwater or overfeed your plant. Be conservative at first. You can always add more food or water later.
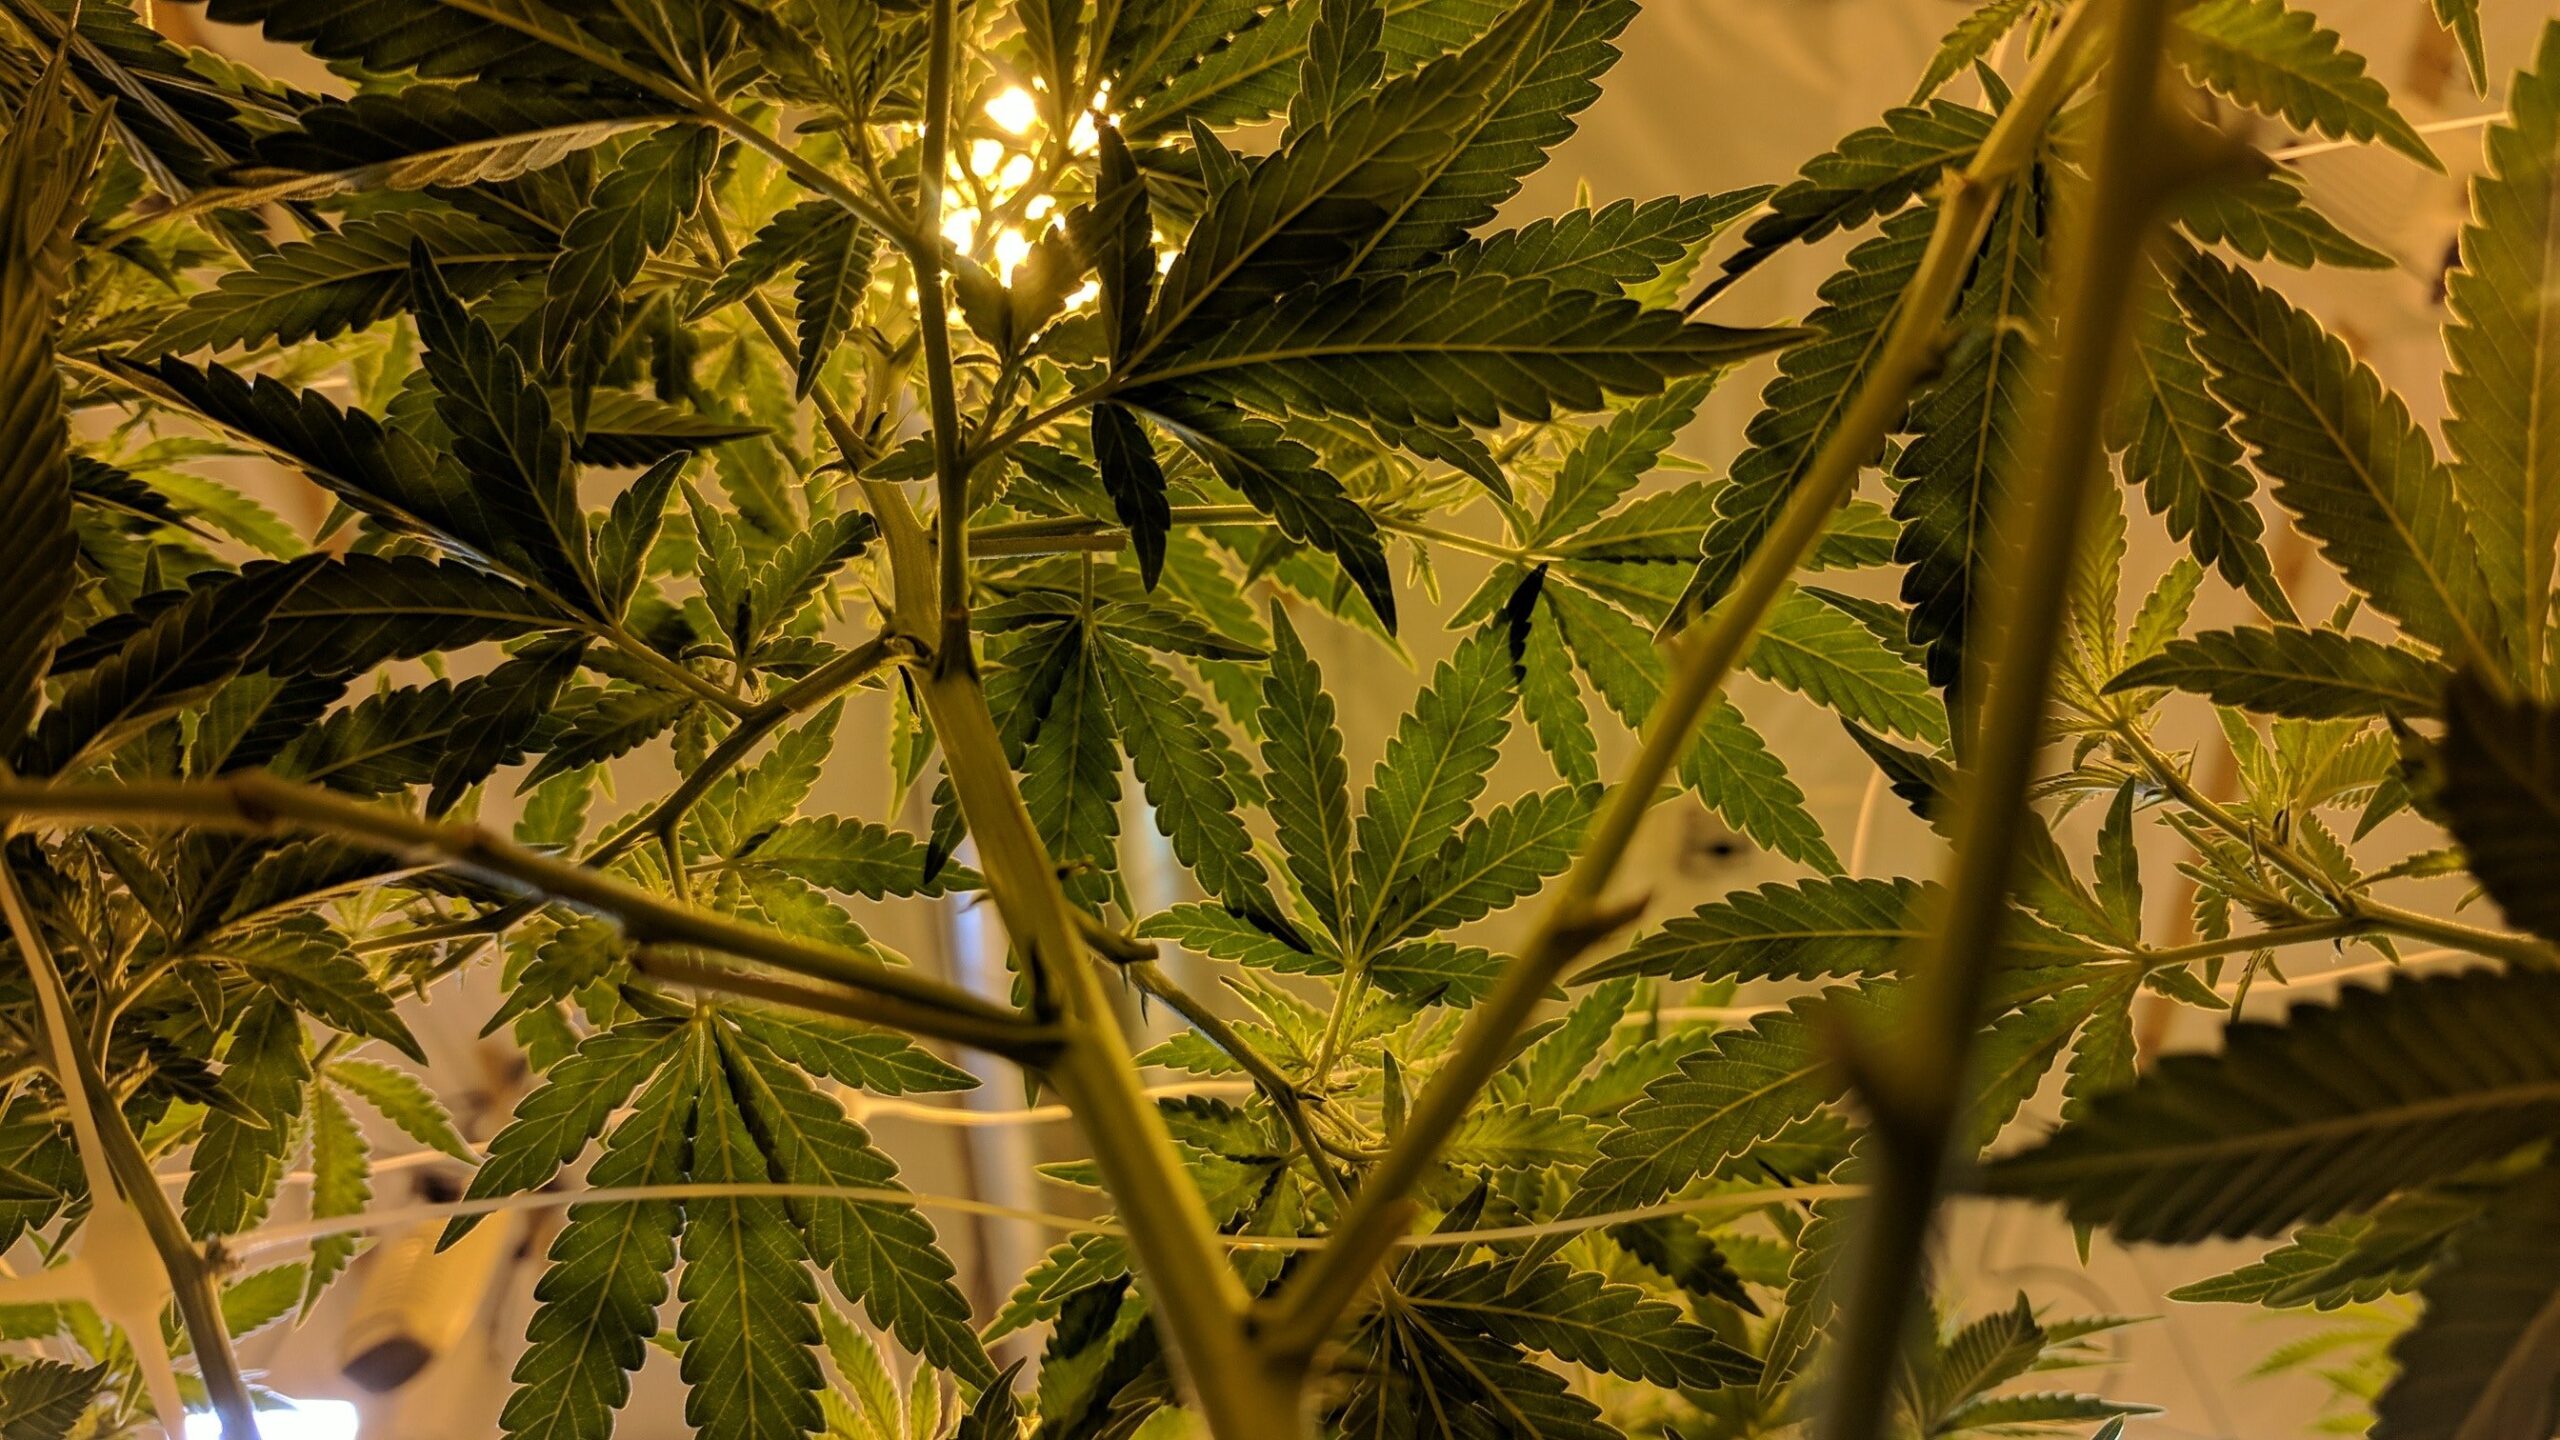
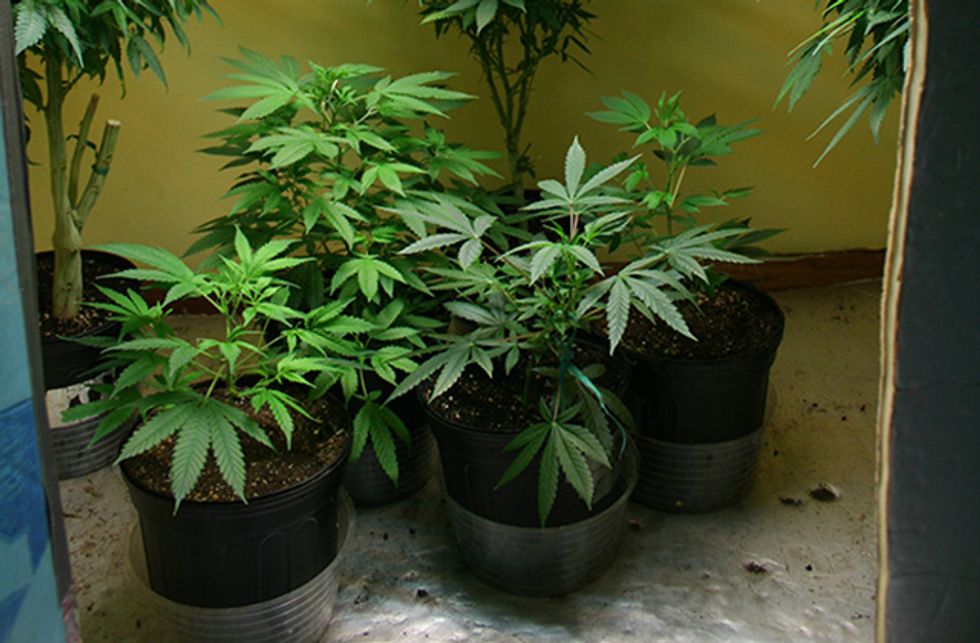 Some green
Step 3: Trimming/Flowering/Curing
When trimming your plant, it’s important to start early. Think of this as the plant’s daily maintenance. If space weren’t an issue, or if you owned a farm, you could probably let your plants grow as nature intended, but if you’re using a grow room, you have to optimize every available inch. Trimming excess branches and twigs is a great way to make space.
Since nutrients typically come in vegetative and flowering mixes, when it’s time to induce flowering, it’s important to switch the way in which you feed your plant. Your plant will need to grow for about 4-8 weeks (longer if you want bigger yields) before it’s ready to flower. That said, with a grow tent, you’re in complete control. When you’re ready to induce flowering, just switch your light cycle to 12 hours on and 12 hours off. Flowering will take an average of 8-12 weeks (here’s a handy timing chart).
After your plant is done flowering, (8 weeks for Indica, 10 weeks for Sativa) it’s time to start trimming. A good way to tell if your plants are ready for harvest is to take a magnifying glass and look for glittery, crystalline structures on your buds. Pictured below:
Once you’ve harvested your buds, you should hang them up for about a week to dry them. Don’t leave a fan blowing directly on them, but make sure the air is circulating to prevent mold. Once the buds are sufficiently dry, remove them from their branches and put them in jars. The buds won’t be completely done drying though, and you will have to periodically open the jars to allow the condensation to evaporate. Do this for about three weeks, and you will be rewarded with an ample amount of perfectly cured weed, probably around 3-5 ounces per plant.
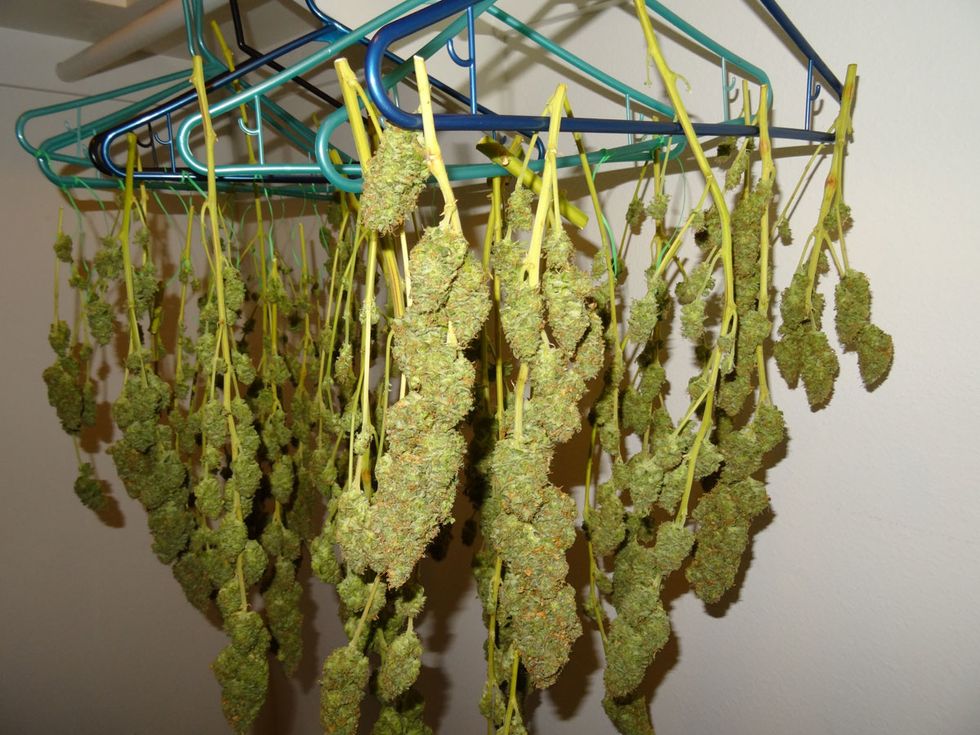 A DIY solution to drying weed
Step 4: Enjoy
I’m sure you’re already pretty well-versed at this part, but it goes without saying that you should reward yourself for a job well done. Growing weed is tough. Kick your feet up and put on a movie. Or, you can always just be like those not as hardcore and buy CBD tinctures!
 Enjoy at your own pace